
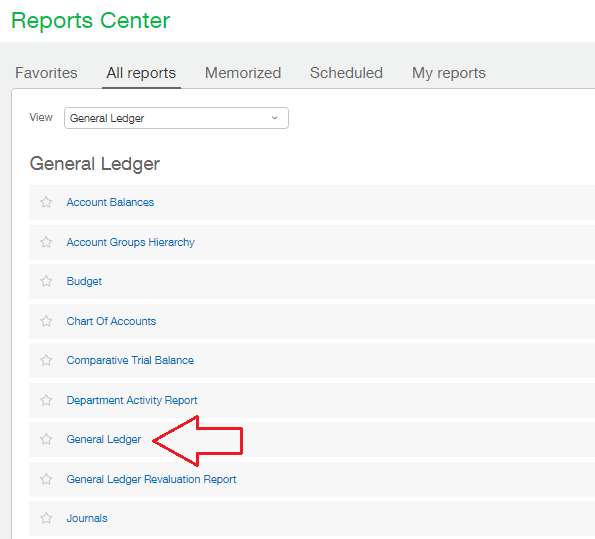
In order to display the GL Account transactions for Inter-Entity Transaction Reporting, we will create a memorized GL report. The creation of this memorized report can be done through the Reports Center found at Reports > All > Reports Center. Ensure you are on the All Reports tab and then select General Ledger from the View dropdown. In the listing of General Ledger reports you should see one called simply General Ledger. Click this title.
The first step to making your memorized report is to set up the filters just how you want them. In our case we will set the date filter to be Prior Quarter as of Today’s date.

Next we want to set up a filter for the account range we wish to show in this report. Because of the intuitive names given to the GL Accounts it’s easy to spot the range we should use for the report.
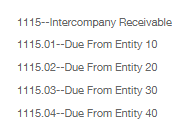
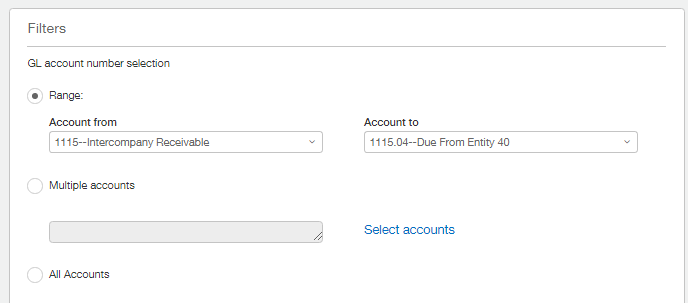
For the GL Account number filter ensure that the radio button beside Range is selected then, using the dropdowns, set the Account from and Account to values.
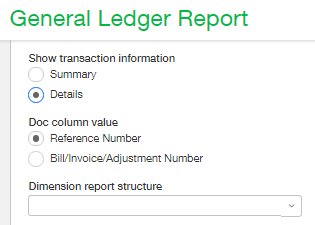
In our report we have chosen not Include statistical accounts or zero balance accounts. If you wish to include zero balance accounts feel free to change that setting. As we wish to see transaction details it’s important to change that setting from Summary to Details. When this is done you will notice that the Doc column value setting becomes active. We will keep the default setting of Reference Number here.
Depending on your business you may want to select dimension related filters but we would like to see everything so we will leave those blank and the rest of the filters will stay as the default values.
Prior to saving our report it is important to test it. This can be done by clicking the ‘View’ button on the top right. After previewing the report and checking its validity, the report can be modify by clicking ‘Customize’ at the top right, changing the filters and then clicking ‘View’ again. Once you are happy with the data being returned, click the ‘Memorize’ button in the top right.
The Memorize Report Parameters screen will be displayed. Enter a name and an optional Description here. The Public checkbox indicates whether you want this report to be available to everyone or just to yourself and admin users. We will mark our report as Public.
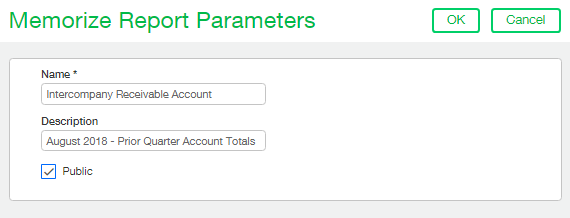
Click ‘Ok’ when you’re happy with your input and your memorized report will be saved. You will be taken to the Memorized Reports list screen where you can see your new report.

Next time you wish to run or modify this report it can be done from the above list screen as well as the Memorized tab in the Reports Center.
