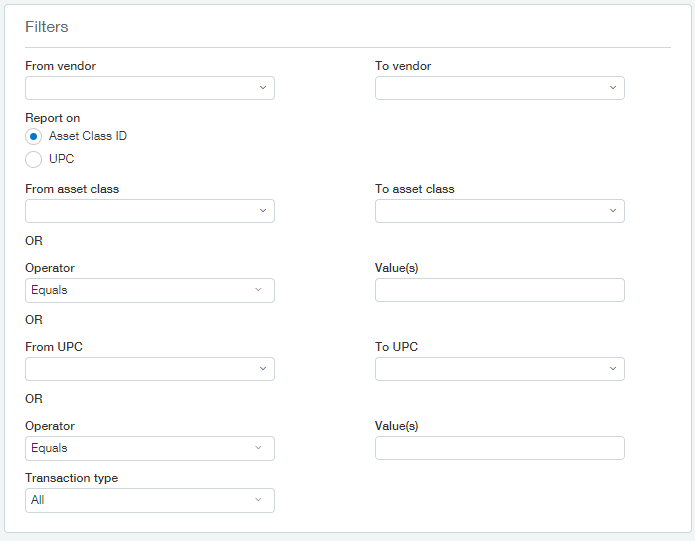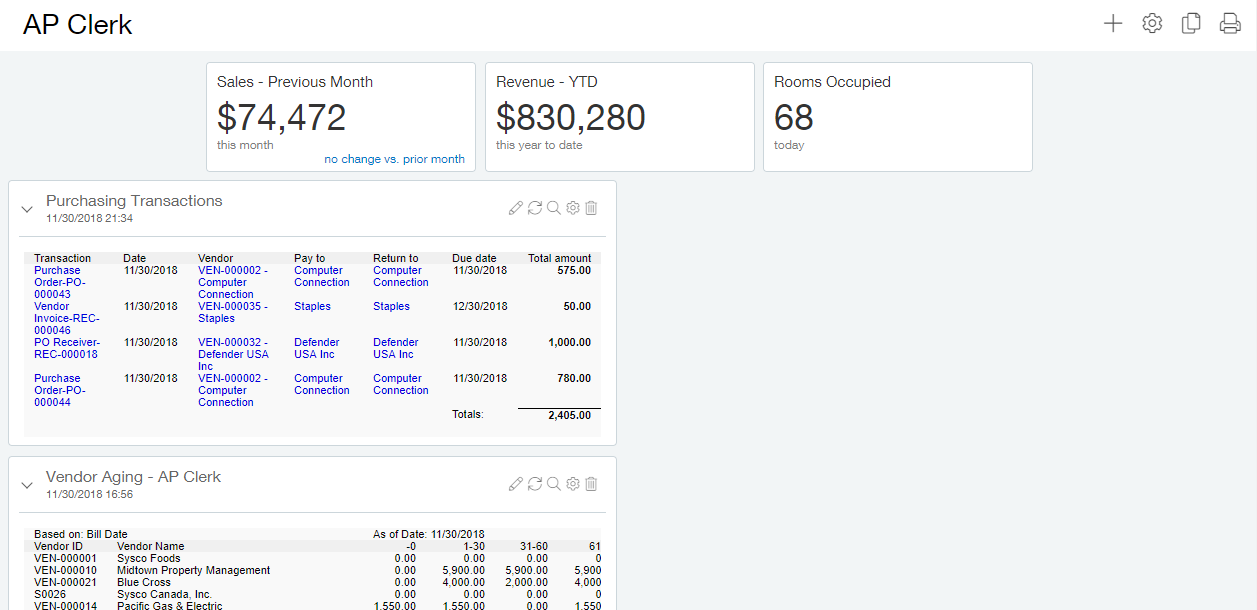
Another useful report to add to your dashboard is a listing of purchasing transactions for the current month. The first step to creating a Purchasing Dashboard is to memorize a report with the criteria you wish to use. Navigate to Purchasing > All > Reports > Purchasing Transactions and fill out the information as necessary to achieve your desired data view.
For the time period filter you may use either a pre-set reporting period or a Start and End date, not both. We will use the current month as our reporting period and an as of date of today.

As for the lower filter section of the report criteria screen we will not include any filter as we want to show the most data that we can. We could, however filter the data if we so desired.

In the Location/Department filter section we will set the Location dropdown to All Business Units so everything is include. In certain cases, you might want to split each location into their own dashboard component, and that’s fine too. That can be easily accomplished by memorizing a separate report for each Location and then adding each one of those memorized reports to the dashboard.

Click View to preview the report. If you are not happy with the report you can click Customize to get back to the customize screen in order to change the settings. Once you are happy with the report customization click Memorize to save the report criteria.
In the Memorize Report Parameters screen we will name our report Purchasing Transactions and set it to public. By setting it to public anyone who is allowed access to the Purchasing Transactions reporting menu item will be able to add this memorized report to their own dashboard.
Once your report is memorized you are taken back to the Memorized report list screen. To add this new memorized report to your dashboard simply follow the steps outline in last week’s blog post. Once you are done, you will have another element on your dashboard! Congratulations, it’s really taking shape!
