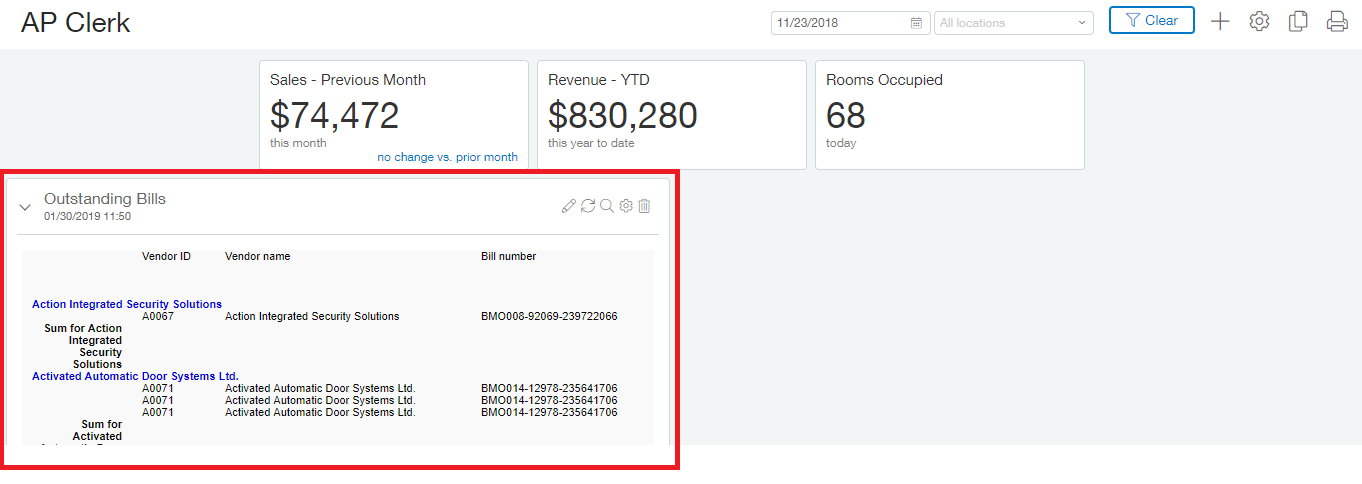
This week we will talk about Dashboarding with Custom Reports by adding the Outstanding Bills report we created last week to the dashboard. It is not necessary to add this report to a dashboard as the report can be simply run when necessary, but by having it on a Dashboard it’s easier to regularly see the output. In order to add our custom report to the dashboard first navigating to Reports > Overview.
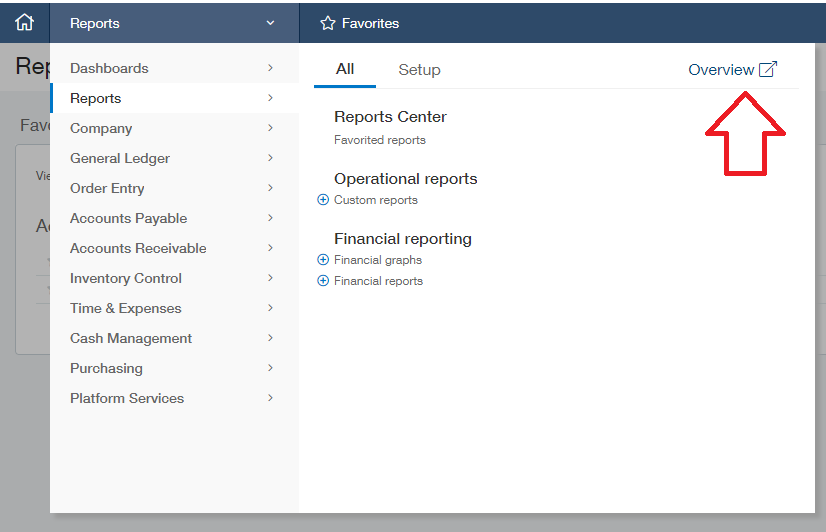
This will take you to the reports center where you can see your reports, custom and otherwise, listed. As the report we just created was a custom report we will click on the ‘Custom reports’ Tab.

In the View dropdown list please select the application that the custom report was added to, in our case Accounts Payable. Next locate the report you wish to add to your dashboard from the list of custom reports and click on the report name. Our list is short so ‘Outstanding Bills’ is easily located.

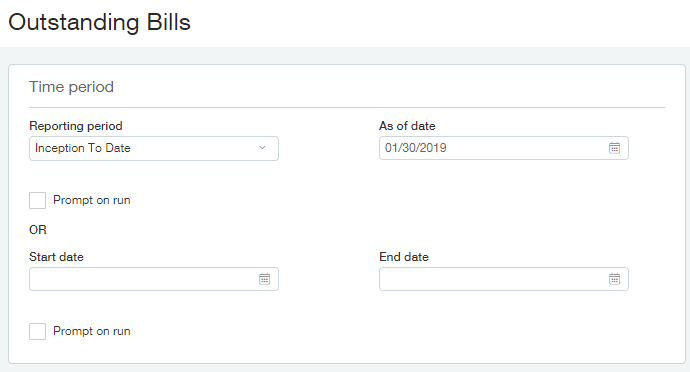
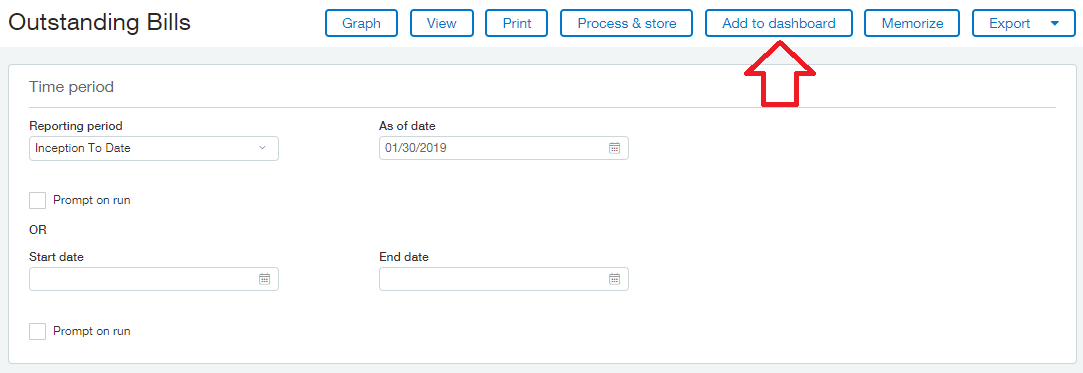
Next you will want to confirm the report criteria and modify it as required to match your needs. We will leave it as is which means the reporting period is ‘Inception to Date’ and the As of Date is today’s date.
While deciding on your report criteria it often becomes useful to preview the report using the criteria provided. In order to preview the report using the Filter, Format and Title specified click the View button at the top of the screen.
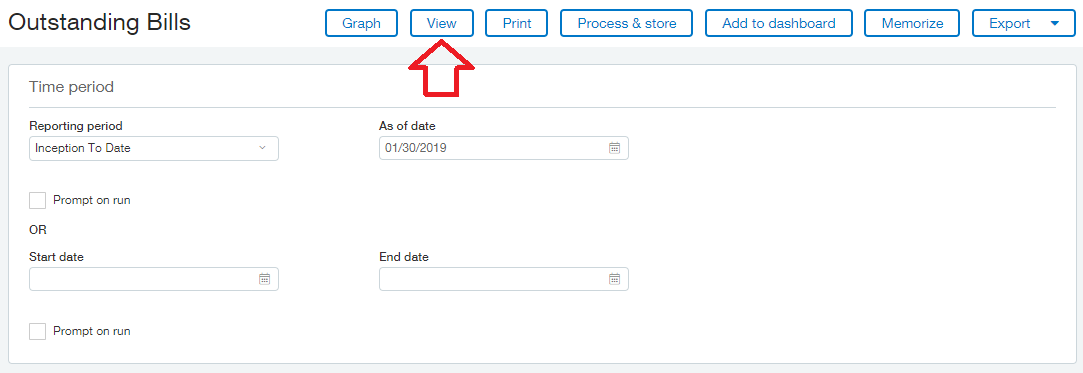
Once you are happy with how the report looks and wish to add it to your dashboard, click ‘Add to Dashboard’.
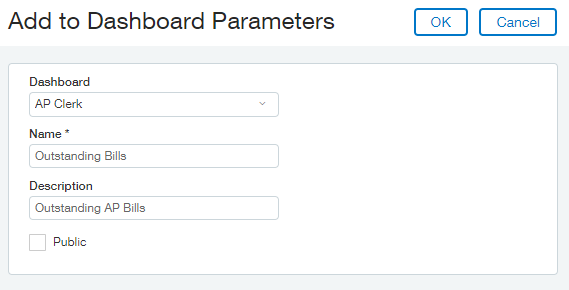
On the Add to Dashboard Parameters screen please select the dashboard you wish to add your report to. The Name field is a required field, so ensure you give you Dashboard component a meaningful name. The Description field is completely optional but recommended. Now if you wish to make this Dashboard component public, go ahead and place a check-mark in the Public checkbox. We will leave this blank and click ‘OK’.
You will be taken to the Memorized Reports list screen where you will see the report you just set up. Success! Your report is memorized AND added to your dashboard!

In order to see your report on your dashboard navigate to Dashboards > All > Dashboards and then clicking ‘View Components’ on the line for the dashboard you wish to view. You will see that your new component has been added to the left side of the dashboard.
