As shown on the diagram presented in Order Entry Advanced Tax: Part 1, Customers and Contacts are required to be grouped together in Contact Tax Groups. If you have already setup advanced taxes in Accounts Receivable, this may already be set up for you. If not, you will need to create the new Contact Tax Groups and link the contacts to these tax groups.
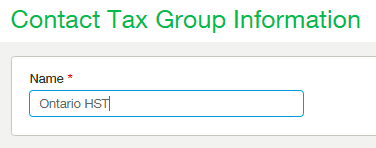
These contact groups will be created based on the taxability of Customers and customers with similar taxability will be assembled into distinct groups. For example, all customers in the same State and County could be linked together in one group. To start setting these tax groups up, navigate to Company > Users & contacts > Contact Tax Group. After clicking the add button here you will be prompted to give your Contact Tax Group a name. Please ensure you enter a meaningful name here as these names will be later listed on a dropdown selection list. The benefit to having a meaningful name is that when you are setting up new contacts and placing them in Tax Groups you can know, without a doubt, where each contact belongs. Examples of good Contact Tax Group names would be ‘Meigs County Ohio ‘and ‘Athens County Ohio ‘while examples of poor names would be ‘Tax Group 1’ and ‘Tax Group 2’.

Customer Setup
In order to have the tax apply to a customer’s invoice you will need to define that customer as being taxable and link their customer account to the Contact tax group which represents the taxation rate in their geographical location. If you have already configured advanced taxes for Accounts Receivable then this might already be set up for you. If not this configuration is done on the ‘Additional Information’ tab of the customer record. You can locate the customer records at Accounts Receivable > Setup > Customers > Customers.
Once you find the customer record you wish to modify click edit then click on the ‘Additional Information’ tab at the top.

Once you are on the Additional information tab you will need to scroll down to the Invoicing details section. At the bottom of that section is where you will see the checkbox for Taxable and a drop down for the Tax group. The Contact tax group can be created here by clicking ‘Add’ or you can select one that you created in the previous step.

Once the appropriate tax group is selected, save the record. This process must be completed for every Customer who you wish to have tax charged for.
